Summer Camp: Designing Board Games

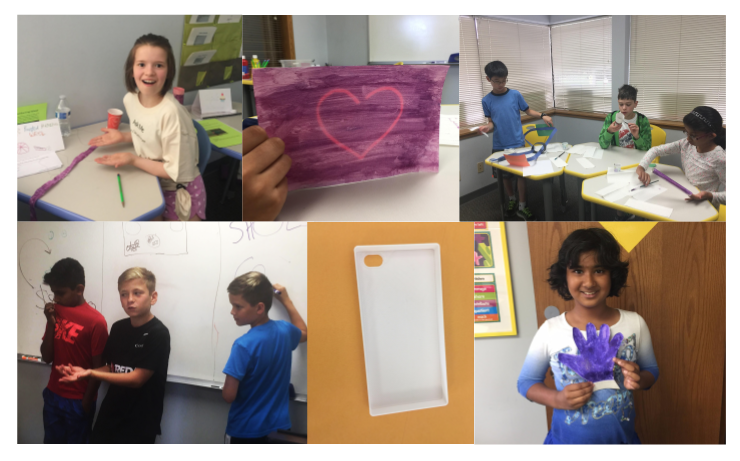
We just wrapped up our multi-disciplinary summer camps this year, and once again had so much fun guiding our middle schoolers in their creative journey! Our challenge for students this year was to design original board games based on their own areas of interests. We partnered with Archimedes school, who taught 3D printing, so students could make meeples and dice for their games.

By asking students to design a game around their passion or interests, our goal was that they would bring their domain knowledge on the topic, without which they wouldn’t be able to make a sufficiently creative game. In addition, we expected them to be more engaged during learning and more incentivized to put in extra effort to create the best version of their idea. 

Game Design Concepts

To design a good game, students had to first learn some basic game concepts like game mechanics, victory conditions and tension. To make learning more relevant,  we brought in common (and a couple not-so-common) board games that students used in deconstructing the various elements. We also used other games like Rock-Paper-Scissors to demonstrate the concept of balance in a game (and it also gave us a chance to sneak in some math and logic). They figured out that a Rock-Paper-Scissors version with an even number of elements can never be balanced, and then had a blast designing their own balanced versions with more than three elements!

Creative Process

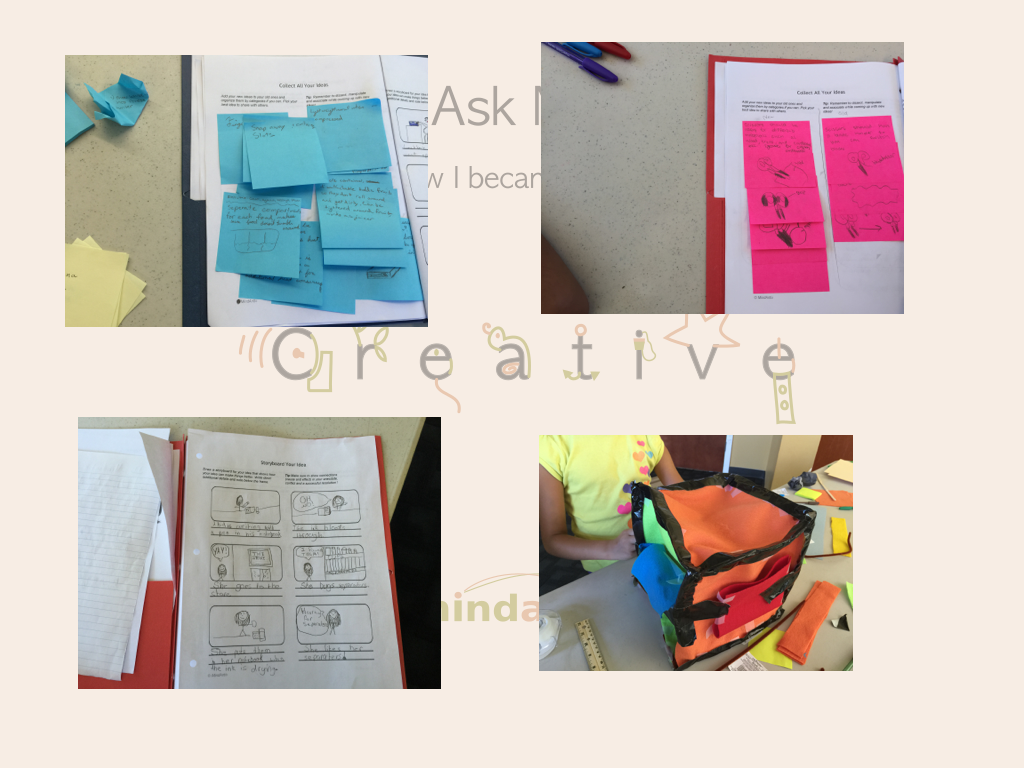
While planning for the camp we also designed how the creative process would flow. If you ask a student (or most adults for that matter) to come up with an original idea, it often stumps them. Integrating a creative process into the workflow can give students the tools and direction to think creatively, and makes the process far less intimidating. 

The two techniques we focused on for the camp were analogical and associative thinking, which we felt were best suited for this scenario. 

To start with students first picked a game they liked and created an analogous version based on their interest. As a simple example, suppose the theme is to teach children about nutrition and health, and the model game is Snakes and Ladders. After deconstructing the game into its elements, one could design a new board game where some spots, like eating junk food or catching a cold makes you lose spots while exercising might make you go forward more spots. 

At this point the game still looks a lot like Snakes and Ladders. You could then start associating  with other game elements and modifying the game. For instance, you could add chance cards (e.g. falling and breaking a bone that sends you back a few spots) or convert the game to a point based system. By using different game elements, the game now starts to evolve differently and takes a very different shape. 

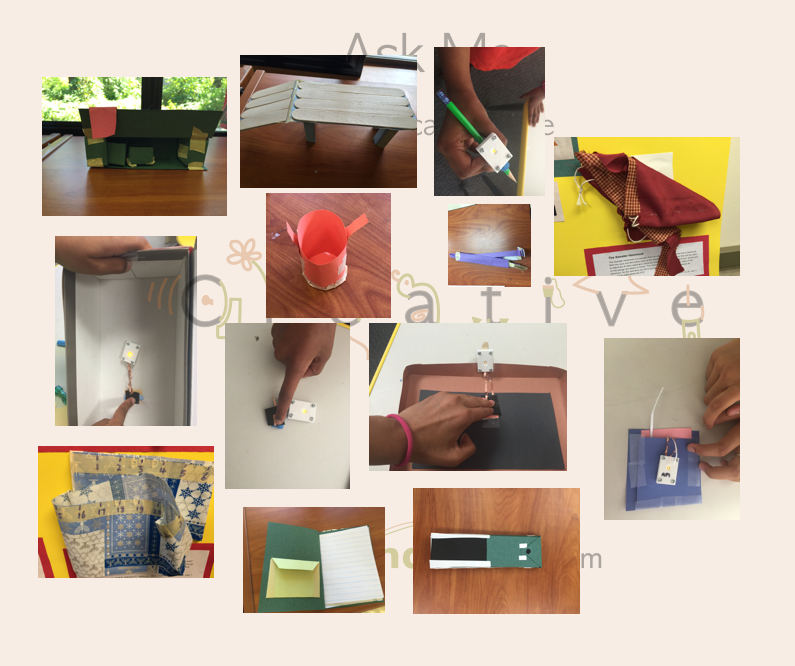
Student Designed Games

It was fascinating to see the students come up with very interesting, and very different, ideas for their board games. Here is a sampling of the board games students designed:

  • Rainforest Exploration – A game that teaches you about different animals in the rainforest as you race to the finish. 
  • Sun Power: A game that incentivizes using renewable energy sources. 
  • Collect-It: An interior design game, where you race to decorate your room. 
  • Archi-tex: A game where you have to be the first one to build a 2,000 ft building. 
  • Prime Switch: A fast paced math game that tests your computationals skills.
  • Soccer Board Game: Score goals by answering soccer trivia questions. 

The most fun part, though, was to see the excitement and energy as students got ready for the final demo to parents. Almost every student found last minute mistakes or changes that they just had to fix, but eventually all of them were able to put their demo together! And of course, they all found several ways that they could have designed things differently. 

We hope they enjoyed playing their game with friends and family, and maybe even designed their next versions!


Summer Camp: Applications in Thermochromism

We just wrapped up our summer camps for this year and are excited to share some of the interesting inventions our students came up with! This year we collaborated once again with Archimedes school (who taught 3D printing), and explored a newer STEM area – smart materials.

A smart material changes its physical property in reaction to its environment. The reaction could be a change in volume, color or some other material property and is triggered by a change in the environment (e.g. temperature, stress, electrical current).  In other words, “…this material has built-in or intrinsic sensor(s), actuator(s) and control mechanism(s) by which it is capable of sensing a stimulus, responding to it in a predetermined manner and extent, in a short or appropriate time and reverting to its original state as soon as the stimulus is removed.”

Smart materials are being used in a lot of interesting applications including smart wearables, aerospace and environmental engineering. In our camps, we experimented with one kind of smart material – thermochromic paint, or paint that changes color with temperature. Some common examples of products that use thermochromic paints are mood rings and baby spoons.

Thermochromic paints use liquid crystals or leuco dye technology. After absorbing a certain amount of light or heat, the molecular structure of the pigment changes in such a way that it absorbs and emits light at a different wavelength than before. After the heat source is removed, the molecular structure comes back to its original form.

In our camp, we tried out different ways to change temperature and induce color change in the pigment like body heat, friction, warm light bulbs and electrical current (with high resistance wires). After the students had a chance to play with thermochromic paints, they started the process of coming up with different applications that would benefit from thermochromism.

Students used a variation of mind-mapping, and techniques like associative thinking and challenging assumptions to come up with several different ideas that could use thermochromic paint in a meaningful way. As last year, students found that by using these creative thinking techniques they could come up with 2-3x more ideas. Then they picked a final idea (after evaluating all the ideas on different criteria) to build their prototype. Quite a few of students also 3D printed their prototype (or at least parts of the prototype) by themselves!

As we expected, student ideas were all over the map. Here is a sample of some of the ideas our campers came up with:

  • Electronics: Quite a few ideas were related to overheating of electronic devices so users can take a break from their device. These include cell phone cases, stickers or attachments for laptops and gaming devices.
  • Thermometers: We had a few interesting thermometers for sensing indoor, outdoor and body temperature. For instance, a soft headband to put on babies and little children that can sense when they have fever – very handy to keep track of when to give the next dose of mediation!
  • Baking: One student made a flexible band that goes around baking dishes and can help you keep track when the dish has cooled down and is safe to eat from. A couple students also made multipurpose gloves that could be useful during baking or other activities.
  • Outdoor Activities: Students also created some interesting products like icemakers, tents and even shoes that could warn their users when it’s getting too warm.

We also had a bunch of interesting ideas like an animal shelter/cage (to help the staff easily figure out if its getting too hot for the animal), fun outdoor sunglasses, a cover for steering wheels and cupholders.

What was most heart-warming though, was to see the sense of accomplishment in these students for coming up with their own idea, following it through with prototyping and proudly presenting it on the last day!

A Summer Full of Inventions

After an exciting and busy spell, we recently concluded our summer programs that introduced children to creativity and inventing.

This year, we expanded on our summer camp from last year. We ran our invention themed camps for two age groups – a younger group (1st – 4th grade) and an older group (5th – 8th). The younger group had weekly invention themes (like inventions to simplify chores, making functional clothes etc). For the older group, we did a 2-week camp in collaboration with the Archimedes School (who taught 3D printing). The students made pressure sensors from individual components, 3D printed a casing for their sensors and then used creative thinking techniques to come up with new inventions that would use pressure sensors in a meaningful way.

Our goal was for children to experience the entire creative flow from ideation to prototyping, and learn creativity skills that would last them for longer. Through these creativity techniques, we wanted children to come up with many different ideas to solve a problem. In fact, with the older group, we even tallied how many ideas they got with and without using creativity techniques. Everyone in that group was able to come up with 2x-3x more ideas by using one of the creative thinking approaches! Here are the things we focused on in our camps:

  • Understanding Creativity: We started each camp with discussing what creativity means – that it involves coming up with ideas that are both original and useful.  Creativity is often confused with art, and it was helpful to clarify that in the beginning with a discussion of what makes something creative.
  • Creativity Techniques: For both groups, we focused on two core creative thinking techniques to coming up with original ideas – “Put to Another Use” and “Associative Thinking“. Being able to adapt an object for a different use and finding ways to combine a random object or concept, are fundamental processes in thinking creatively and seem to underlie other creativity techniques. The older group also did other techniques like reversing assumptions, and processes like MindMapping to help them brainstorm more effectively.
  • Evaluating Creativity: While it’s important to understand what creativity is, we thought it would be even better if the students knew how they can measure creativity. So, everyone had to evaluate their own as well as others’ ideas on “originality” and “usefulness”. The older group also rated ideas on “impact” and “practicality”. This exercise really helped them in picking the most creative ones to pursue in a systematic way.
  • Telling a Story: It’s not enough to come up with a good idea – selling an idea is just as important. So we introduced storytelling and storyboarding concepts to help them tell a compelling story about their invention. The older group pitched their idea to the rest of the group and got useful feedback on their invention and pitch in return.  

We were truly heartened to see even the younger children apply these concepts and come up with creative ideas. And we ended up with some very neat inventions in the process!

The younger group came up with ideas like a sweater that converts into a hammock using drawstrings on the collar and bottom (notice the “Put to another use” skill being used here?), a pot with removable handles that also serve as spatulas, a couch with easy access storage bins and many more!

The older group used pressure sensor in many different ways and after searching through the patent database picked ideas that they believed were sufficiently unique and useful. We had a safe stovetop that will switch off when there is no pan on it, a laundry hamper that reminds you to do your laundry regularly, a pencil grip that detects when you are under stress and pressing too hard and several more. And what truly warmed our hearts was when one of the students commented during the demo day, “If all of these were not just prototypes, the world would be so much better!

We had a great time watching  our 40+ campers learn to play with ideas and hope they are inspired to continue their inventive journey beyond our summer camp.

Our First Summer Camp And Lessons Learned

We just wrapped up our first summer camp to teach children (8-12yr olds) how to think in more innovative ways. For this camp, we wanted to go beyond simply teaching creativity techniques, to having children actually design objects they use regularly. And since this is the back to school season, we picked “Redesigning School Supplies” as the theme of our camp.

We organized camp activities around a few principles and learned what works well and what doesn’t:

Don’t dumb it down

The neat thing about Creativity is that it is relatively age-agnostic – it’s easy to teach kids core creativity concepts. So, we didn’t skimp on the content. The children learned and experienced creativity techniques and design thinking processes that are typically encountered in graduate level courses.

But we did package the material to be more kid-friendly. For instance, we made a “Minion Game” for the Alternate Uses Task, where a group of minions “discover” an object and the minions take turns in interpreting how that object might be used by humans (all while speaking minion-ese, of course).

Lesson Learned: The campers grasped the concept that we were teaching quickly through play and games, although not everything went perfect. For example, we used the Minion-Game as an opening game, and realized that it wasn’t the best decision. While the kids loved the concept (they asked to play it again the next day), they hadn’t sufficiently warmed up to each other to act silly. In hindsight, this game would have probably worked much better had we scheduled for the second day or later. Our other games fared a lot better, and the children had a great time making their own Twist-a-Story skits, and Crime Scene Investigation movie trailers!

Both group and individual thinking are important

Research has shown that when people brainstorm individually and then bring their ideas to the table for group discussion, the outcome is superior compared to group brainstorming. So, our activities alternated between individual thinking and group brainstorming giving everyone a chance to think on their own.

Lesson Learned: This strategy worked out really well and we ended up with a lot of unique, interesting ideas that children were able to use in their final designs! We will definitely keep this approach going forward.

Make it Relatable

Everyday, we also studied an inventor and their creation to illustrate the concept of the day (like using empathy, making associations, or storyboarding). We also wanted to remove the the psychological barrier that children typically have –  that inventing is for adults. So our profiles included young inventors like the 11 yr old girl who invented the crayon holder, to help use up little pieces of crayon.

Lesson Learned: We are not really sure how much (or if) this inspired our campers, but the children did seem to enjoy learning about other inventors. We’ll continue using  this because it also served as a good transition activity between games and project work.

We organized the campers into four teams and each team picked a school supply to redesign. By the time camp ended we  had some interesting new products – a lunch bag that helps you plan healthy portions, a multi-functional scissors, a universal notebook that minimizes paper cuts, and a better organized and safer backpack. Not bad for the one week we had!

But most importantly, the campers had a great time figuring out their own, unique problems with the objects they picked and applying design thinking to solve them!